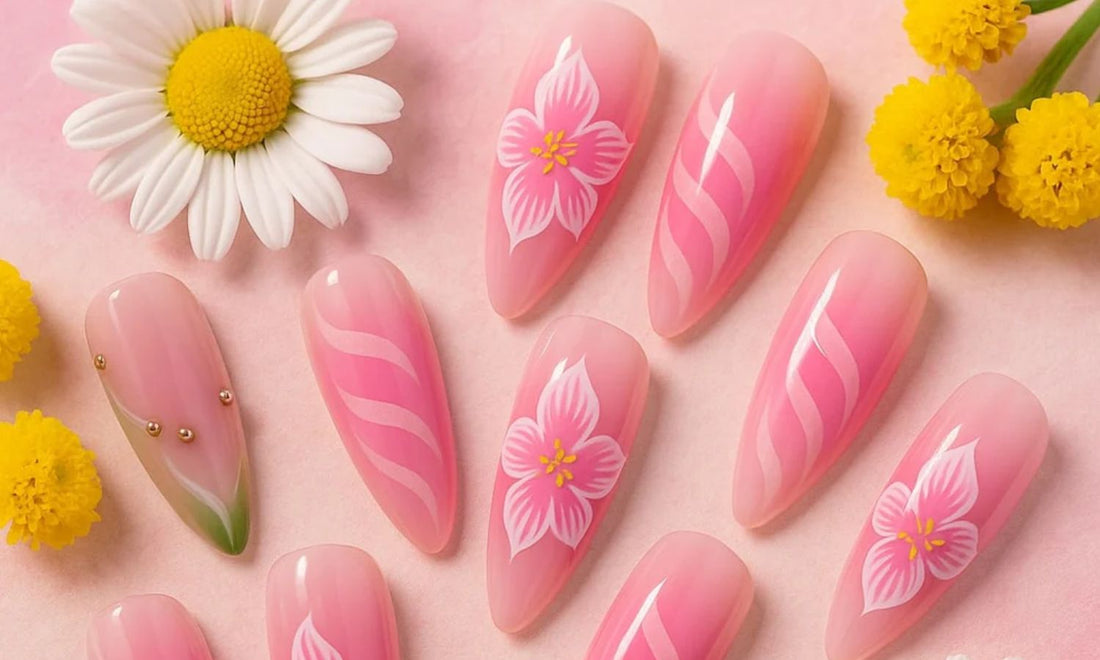
How to Use Press On Nails – The Complete Guide
Share
Introduction
Press on nails are one of the fastest growing beauty trends of 2025, giving you salon quality nails in minutes without the expensive appointments or nail damage. At GlossySnap, we specialize in premium press on nails designed for every occasion—from everyday chic to party glam. If you’ve ever wondered how to use press on nails the right way, this step by step guide will help you achieve a flawless, long lasting manicure at home.
Why Choose Press On Nails?
Before we dive into the steps, let’s talk about why more beauty lovers are switching to press ons:
💅 Fast & Easy – Apply in 10 minutes or less.
💸 Affordable – Save on expensive salon visits.
🔄 Reusable – Use your favorite sets multiple times.
💖 Damage Free – Gentle on your natural nails when removed correctly.
🎨 Trendy Designs – Stay ahead with fashion forward styles.
What You’ll Need (Included in Every GlossySnap Kit)
Each GlossySnap press on nail kit comes with: Press On Nails: 24 Pcs, Nail Buffer, Cuticle Oil, Nail Glue Tape, Alcohol Wipe, Spatula Stick, Nail Glue, Nail Filer, Free Surprise Gifts. These tools make application quick, easy, and professional.
Step 1: Prepare Your Natural Nails
Proper preparation ensures your press ons last longer.
- Wash your hands with soap and water.
- Push back your cuticles gently with the cuticle stick.
- File and shape your natural nails.
- Buff the nail surface lightly to remove oils.
- Wipe with rubbing alcohol or a nail cleanser.
👉 Pro Tip: Never skip prep! This step is key to long lasting results.
Step 2: Select the Right Nail Sizes
- Lay out the press on nails and match them to your natural nails.
- If a nail doesn’t fit perfectly, choose the slightly smaller size and file the edges if needed.
- Arrange them in order before starting for a smooth application process.
Step 3: Apply Adhesive (Two Options)
- For Long Lasting Wear (1–2 weeks): Apply nail glue to both your natural nail and the back of the press on.
- For Short Term Wear (1–2 days): Use the included adhesive tabs.
👉 GlossySnap Tip: Always start with your pinky and work toward your thumb.
Step 4: Press & Hold
- Place the press on nail at a 45 degree angle near the cuticle.
- Press down firmly for 15–30 seconds to remove air bubbles.
- Repeat for each nail until your set is complete.
Step 5: Shape & Finish
- File and shape the tips as desired.
- Apply cuticle oil for a natural, polished look.
- Show off your fresh GlossySnap manicure!
How to Remove Press On Nails Safely
Removing press ons properly keeps your natural nails healthy.
- Soak nails in warm, soapy water for 10–15 minutes.
- Gently lift from the sides using the cuticle stick.
- For glue residue, use acetone or a nail buffer.
- Moisturize your hands and nails afterward.
❌ Never force or rip off nails—this can damage your natural nail bed.
Care & Reuse Tips
- Store nails back in the GlossySnap storage box after removal.
- Clean old glue with a buffer before reapplying.
- Keep your nails dry for the first hour after application.
- Avoid harsh chemicals or prolonged hot water exposure.
FAQs – How to Use Press On Nails
1. How long do GlossySnap nails last?
With glue, they last 1–2 weeks. With adhesive tabs, 1–2 days.
2. Can I reuse them?
Yes! Simply clean off the glue and store them properly for reuse.
3. Are they safe for natural nails?
Absolutely. When removed correctly, press ons are a safe, non damaging alternative to acrylics or gels.
4. Can I shower or do chores with them?
Yes—just avoid hot water and harsh chemicals in the first 24 hours.
With GlossySnap press on nails, achieving flawless, professional looking nails at home has never been easier. Whether you’re a beginner or a seasoned press on fan, following these steps will help you enjoy long lasting, damage free, and gorgeous nails every time.
✨ Ready to try it yourself? Shop GlossySnap Press On Nails and transform your nail game today.
